Device Management
1. Introduction
Device objects represent physical edge devices, and are at the heart of the RIoT Secure Platform.
This document outlines how to create and manage devices using the web-based Management Console.
It is also posible to manage devices programatically using the RIoT Secure REST API.
2. Device Enrollment
A physical edge device needs to be enrolled to function with the RIoT Secure Platform. There are essentially two steps in the enrollment process:
- Create a device entry using the Management Console
- Install the RIoT Core Firmware on the device
See the Enrollment Documentation for information on how to enroll a device.
3. Device Management
3.1 Devices Screen
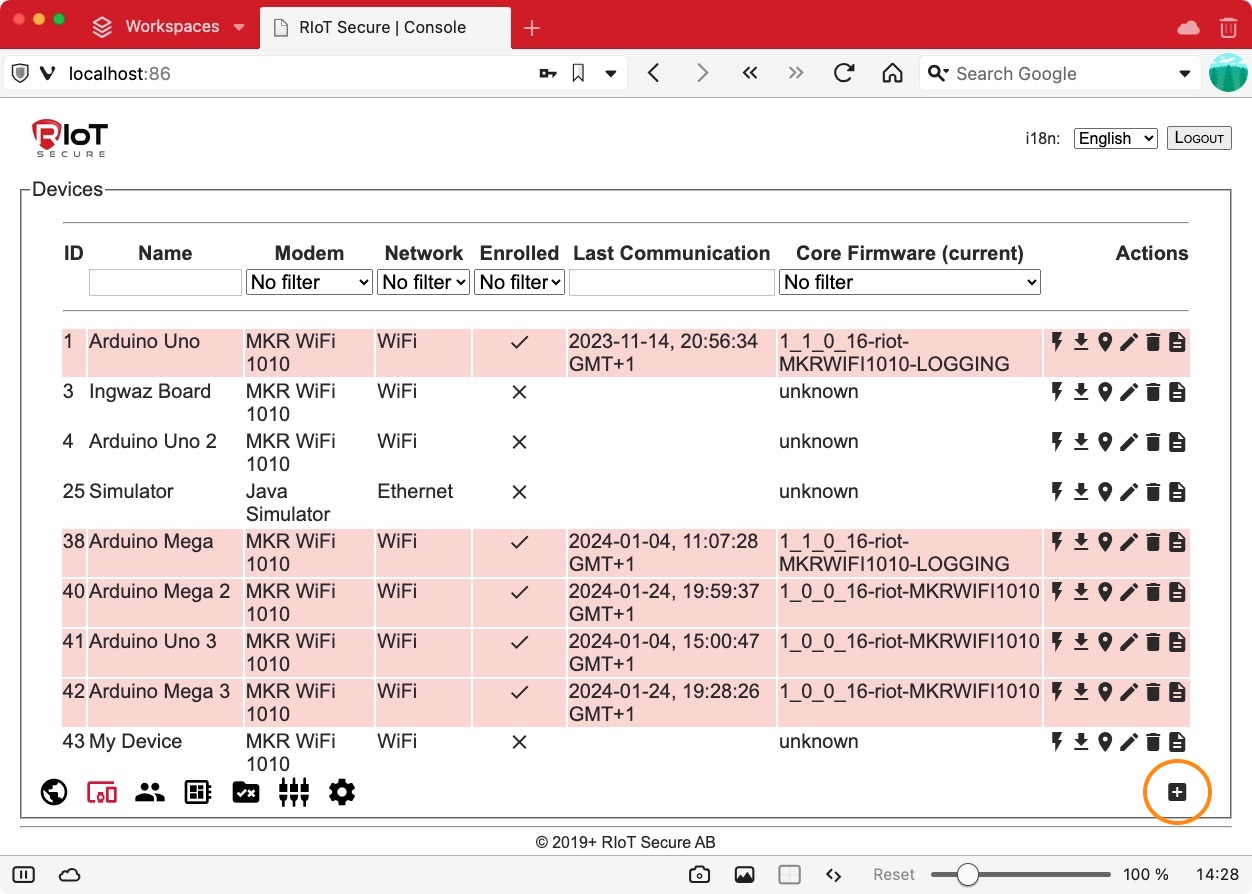
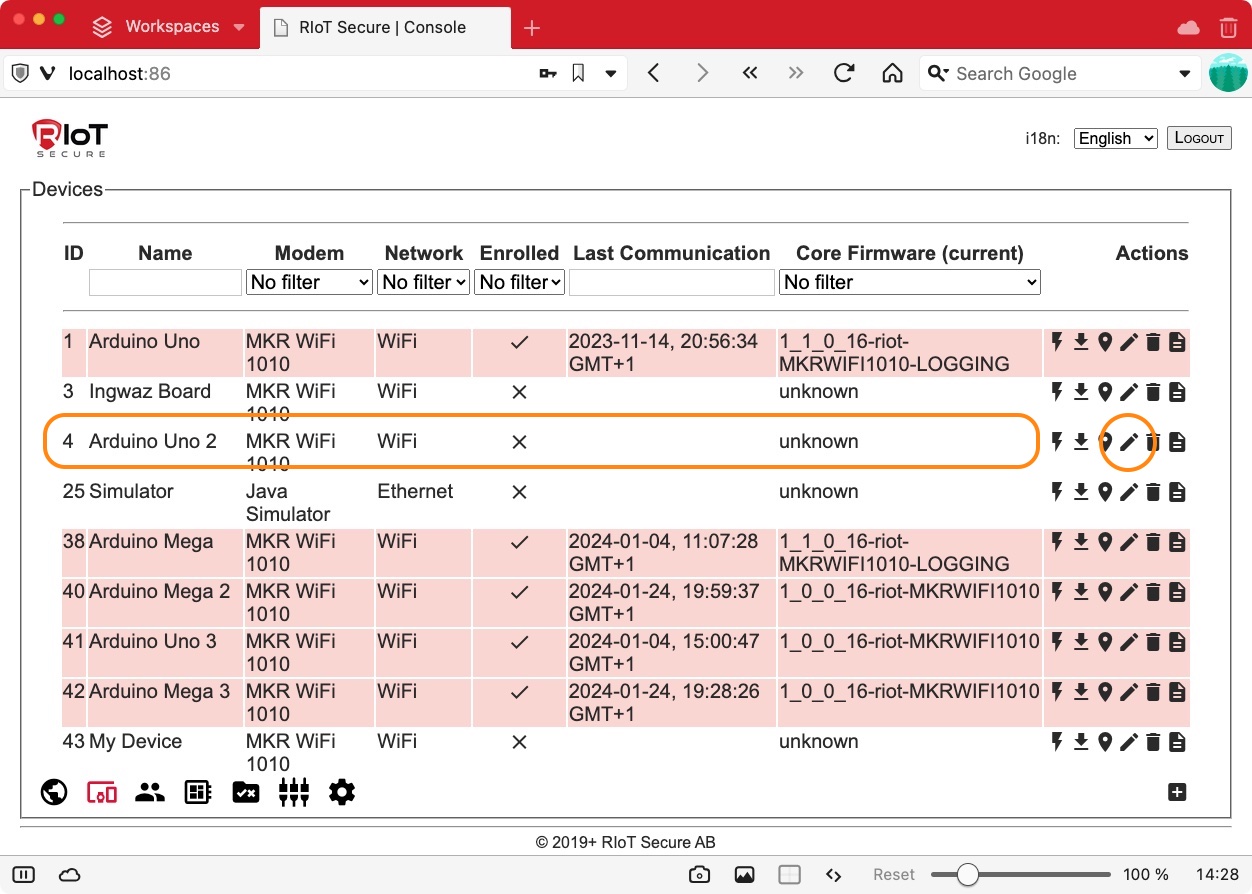
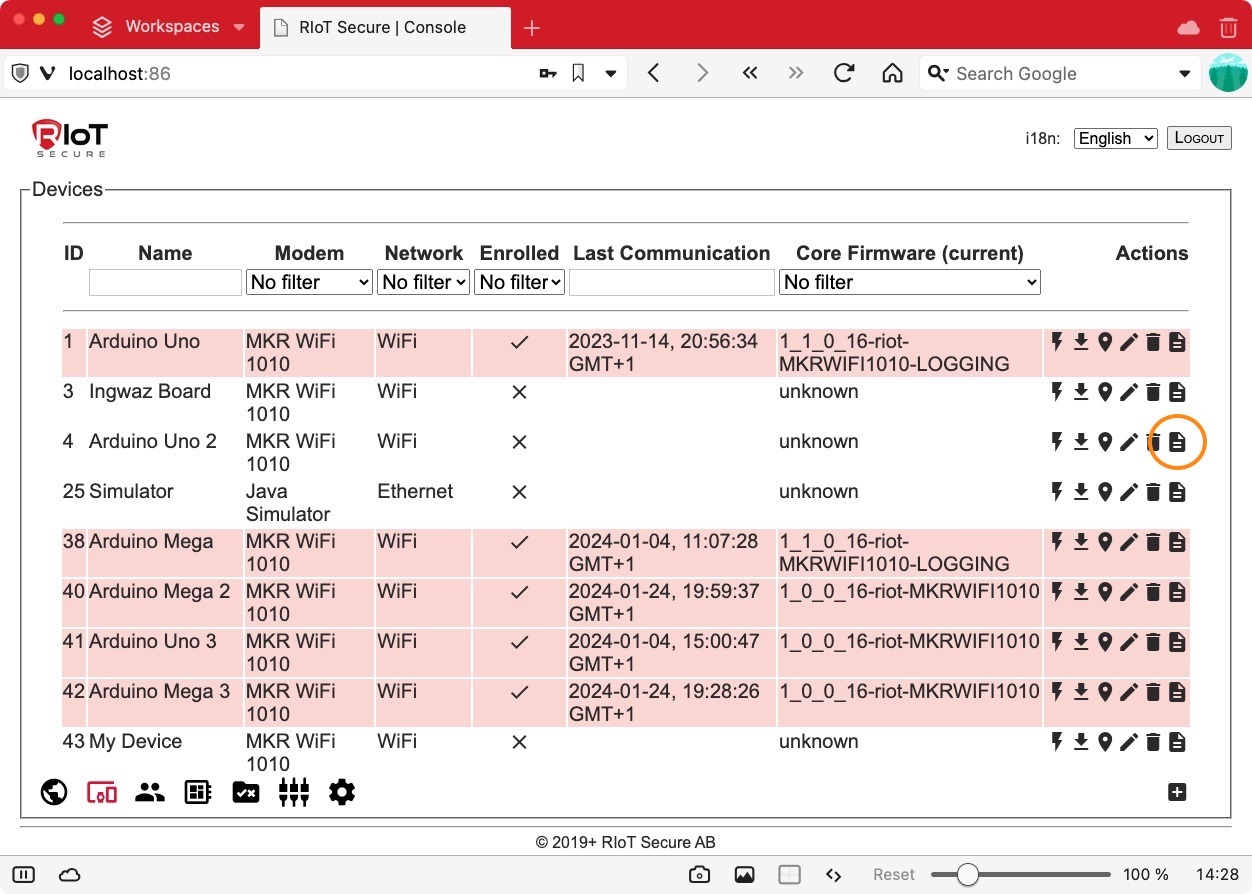
Devices are managed on the Devices Screen in the Management Console.
A list of devices registred in the system is displayed in a table view.
The table view provides an overview of fundametal information about devices, such as enrollment status and last communication time.
The icons to the right at the end of each table row are used to manage devices. Clicking a device row opens the device form for editing.
![]()
3.2. Create a Device
3.2.1. Open a Device Form
Create a new device entry by clicking the “+” icon on the Devices Screen. This will open a new form for editing the propertes of the new device.

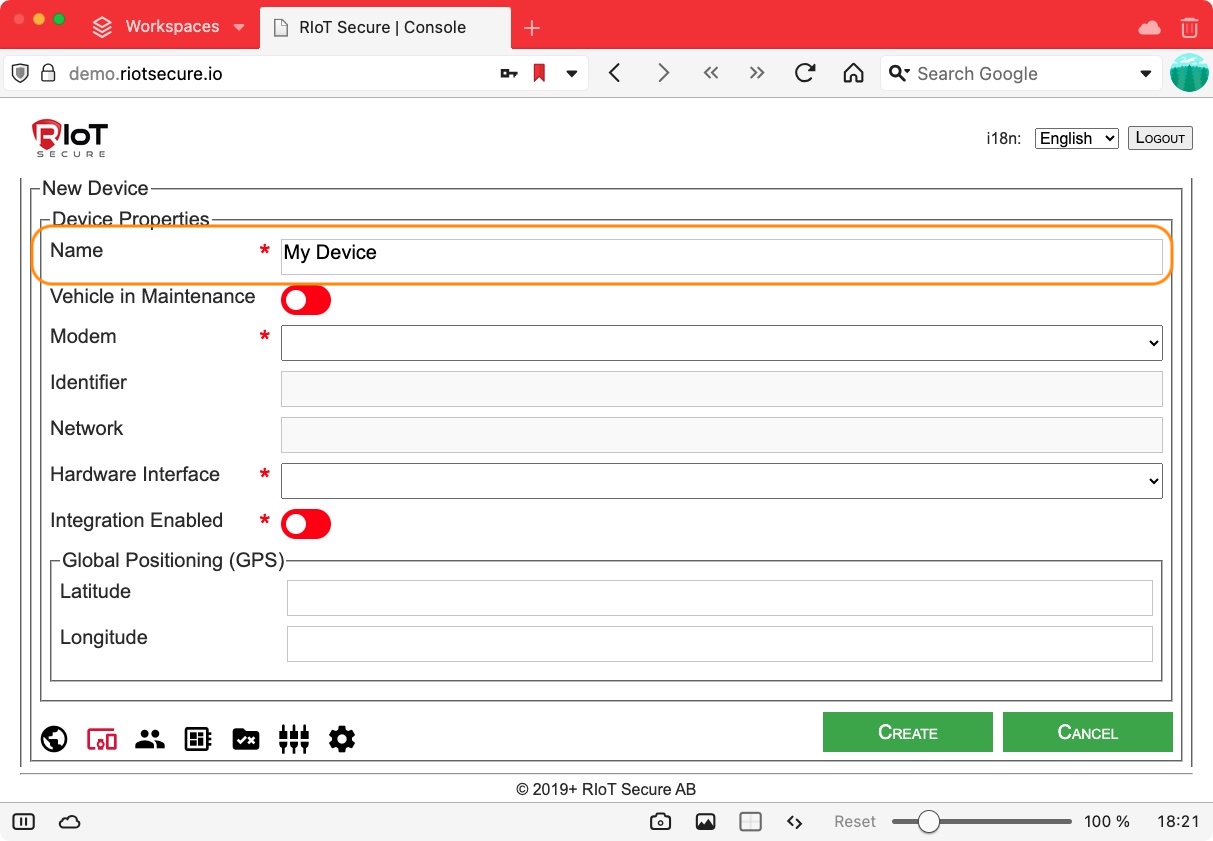
3.2.2. Fill in the Device Name
The first field is the device name. The name can contain spaces.
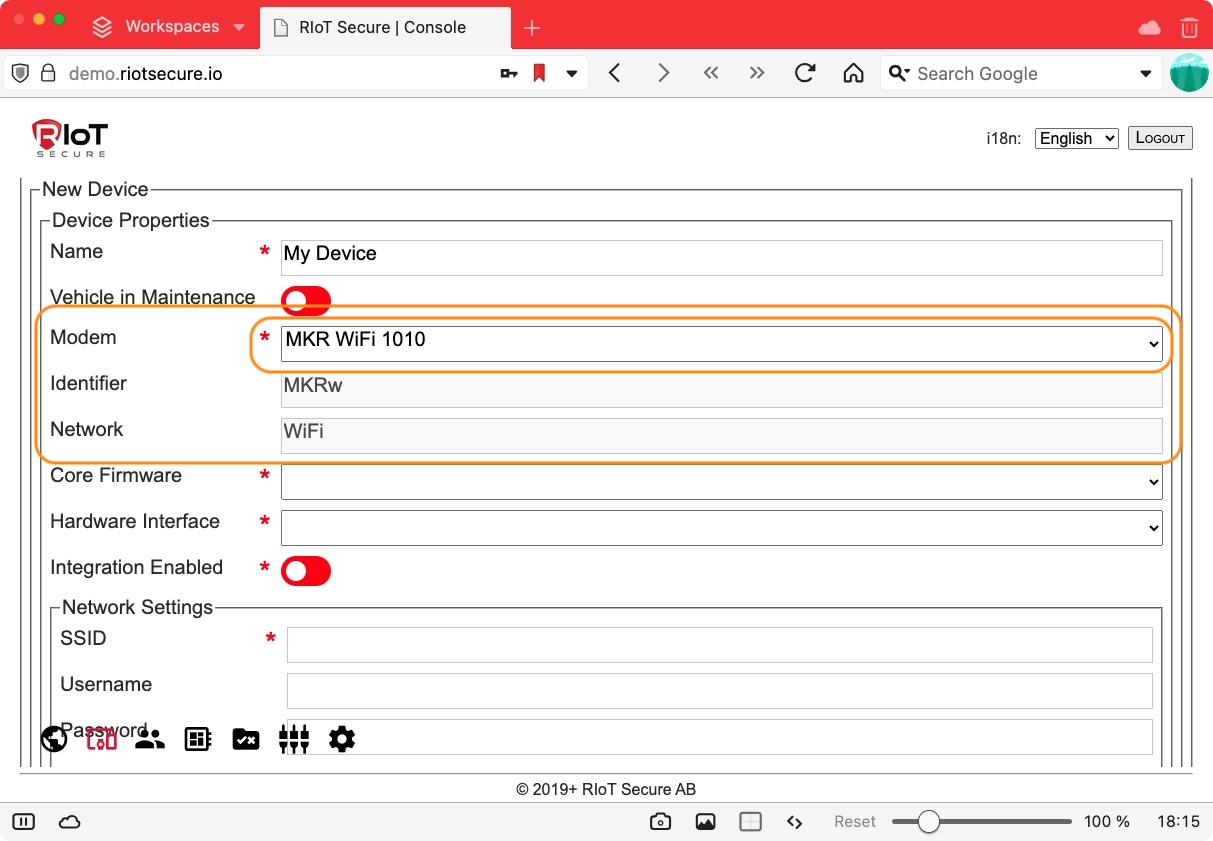
3.2.3. Select Modem
Select the Modem used with your device from the popup menu field. For WiFi the Arudino MKR WiFi 1010 is commonly used.
The Identifier and Network fields are filled in by the system when this selection is made.
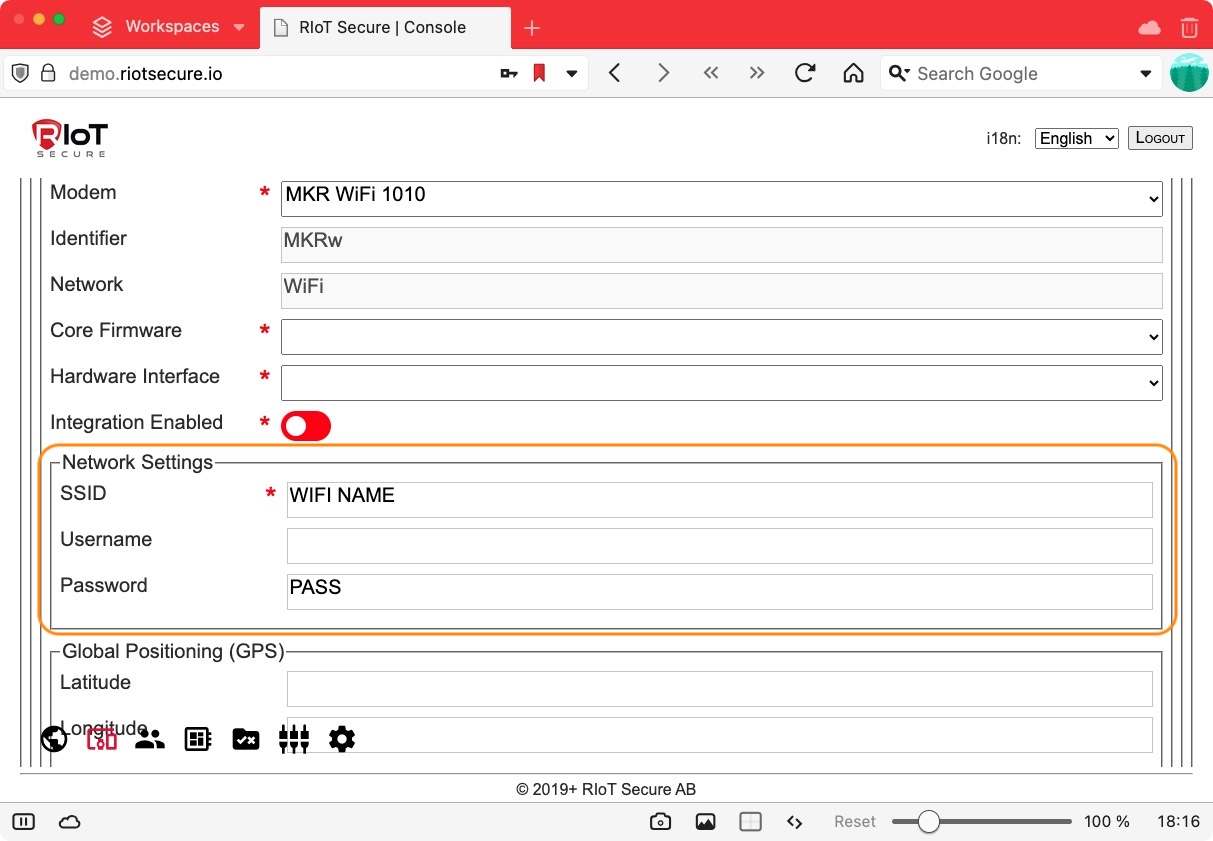
3.2.4. Fill in Network Settings
Fill in the Network Settings subform. The properties of this form varies depending on the modem setting.
For WiFi Username and Password are typically required. Other network types have slightly different fields.
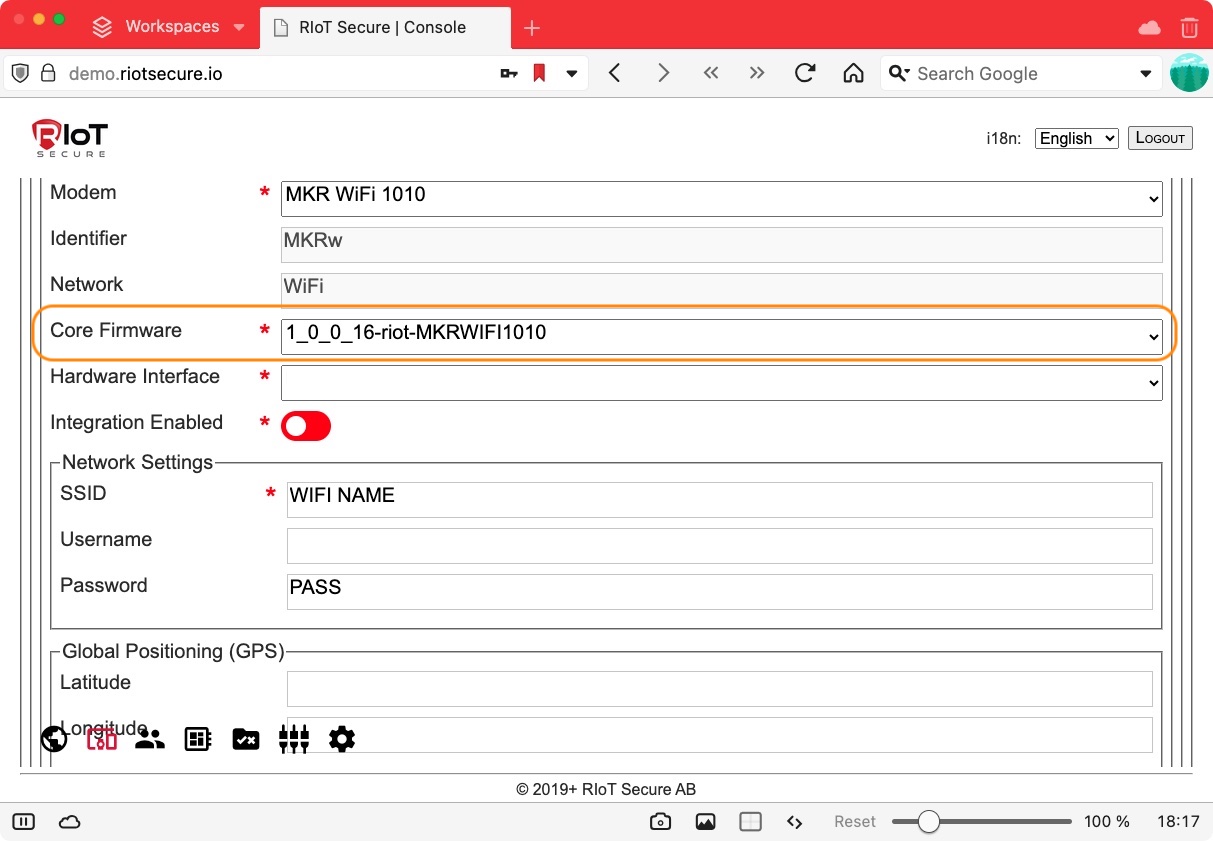
3.2.5. Select Core Firmware
Select the core firmware from the popup menu field.
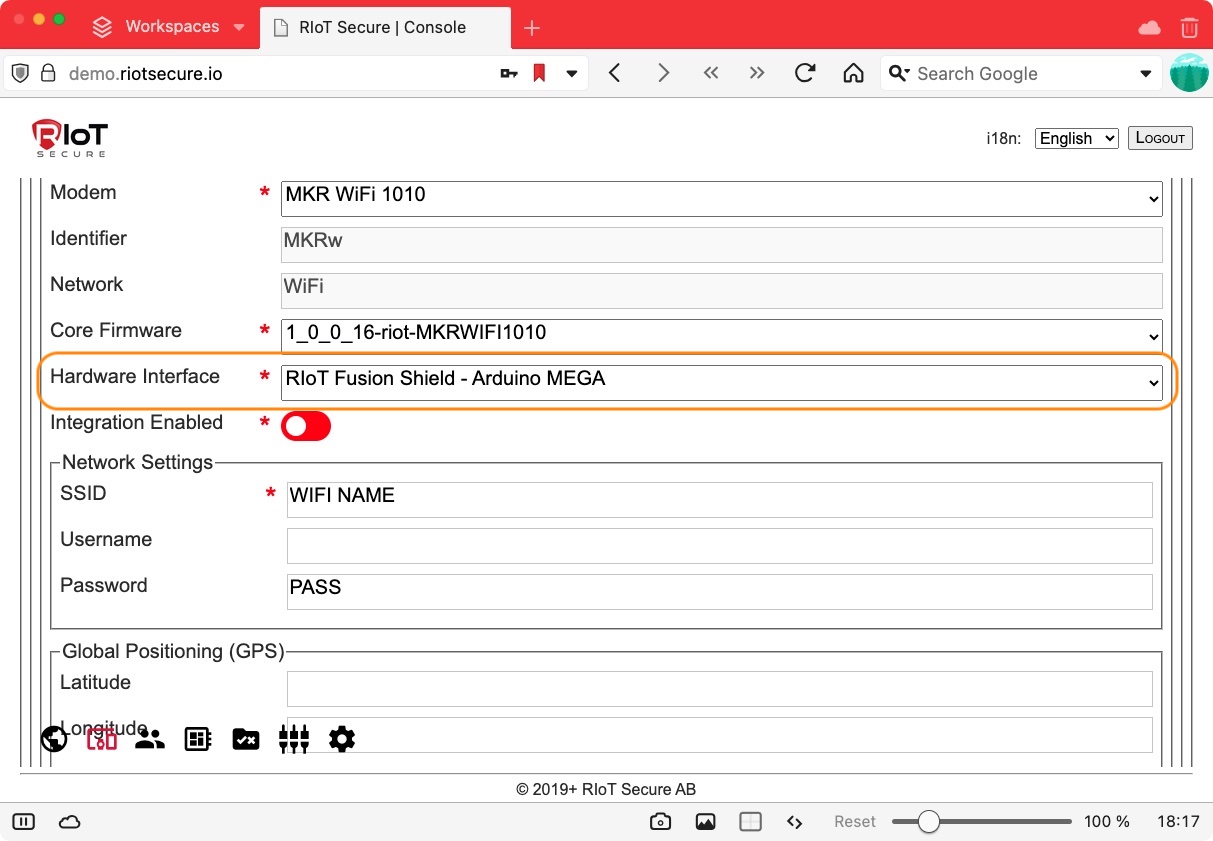
3.2.6. Select Hardware
In the Hardware Interface popup menu field, select the type of hardware used.
Some commonly used hardware interface options are:
- RIoT Fusion Shield - Arduino UNO
- RIoT Fusion Shield - Arduino MEGA
Here is an example:
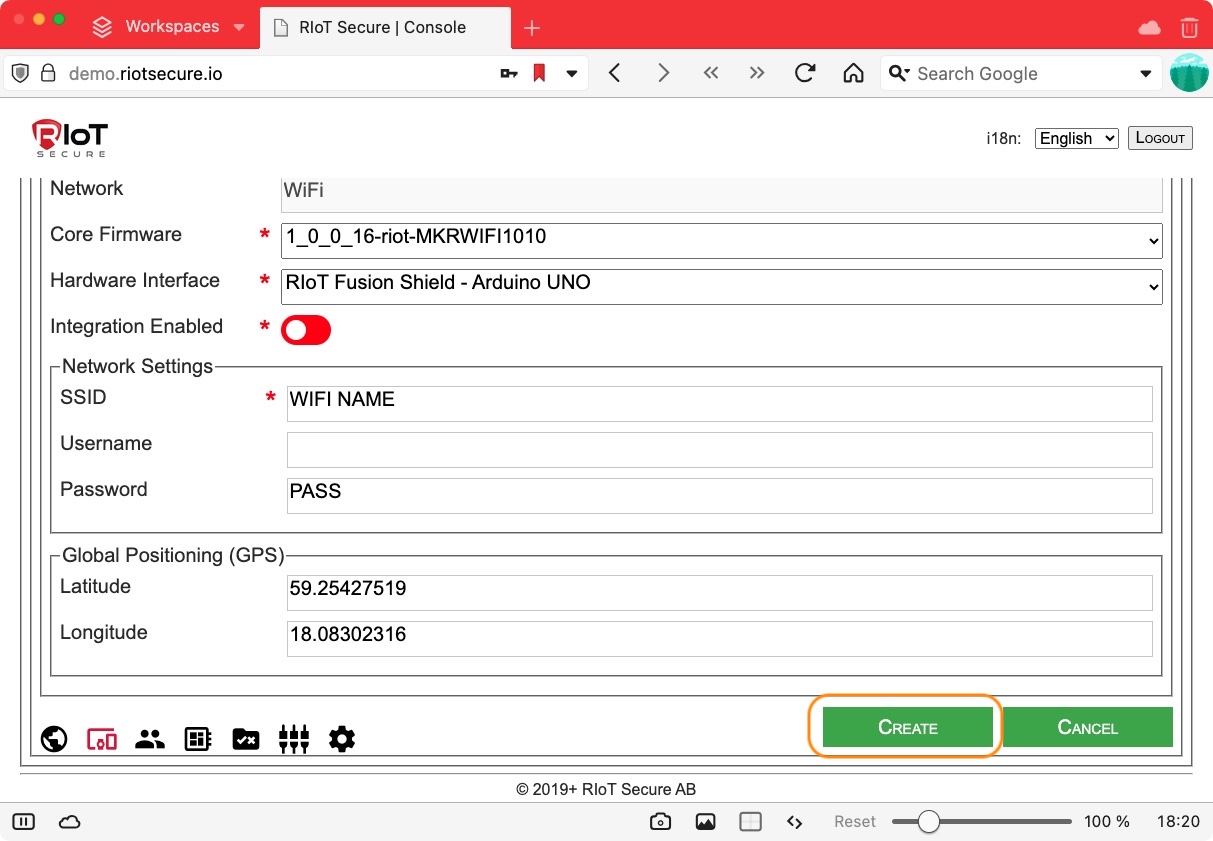
3.2.7. GPS Settings
Optionally, fill in the static GPS position of the device.

3.2.8. Click Create
Click the Create button to save the device.
3.3. Edit a Device
To edit a device, click on the table row or the “pencil” icon of a device entry in the table view.
3.4. Download Installer Sketch (RIoTInstaller)
To download the RIoTInstaller bootstrap sketch for a device, click the “flash” icon on a device entry in the table view. This will download a zip-file with an Arduino sketch used for enrolling the device.

The “download” arrow icon next to the “flash” icon will download a bootstrap file, which is used by an alternative enrollment method (this method is not used in this guide).
3.5. Delete a Device
To delete a device, click the “bin” icon on a device entry in the table view.

3.6. Copy a Device
A device can be created by copying an existing device. Clicking the “copy” icon will open a new device form for editing, filled in with cloned data. This is a handy shortcut for creating multiple devices with the same hardware configuration.
3.7. View Map
Clicking on the “location” icon shows the device on the map screen.

4. Over-the-Air Firmware Update (OTA)
Both the Application Firmware and the Core Firmware is updated over-the-air.
See the Firmware Management section for a description of how to update the firmware of a device.
Also see the Firmware OTA Tutorial for step-by-step instructions.
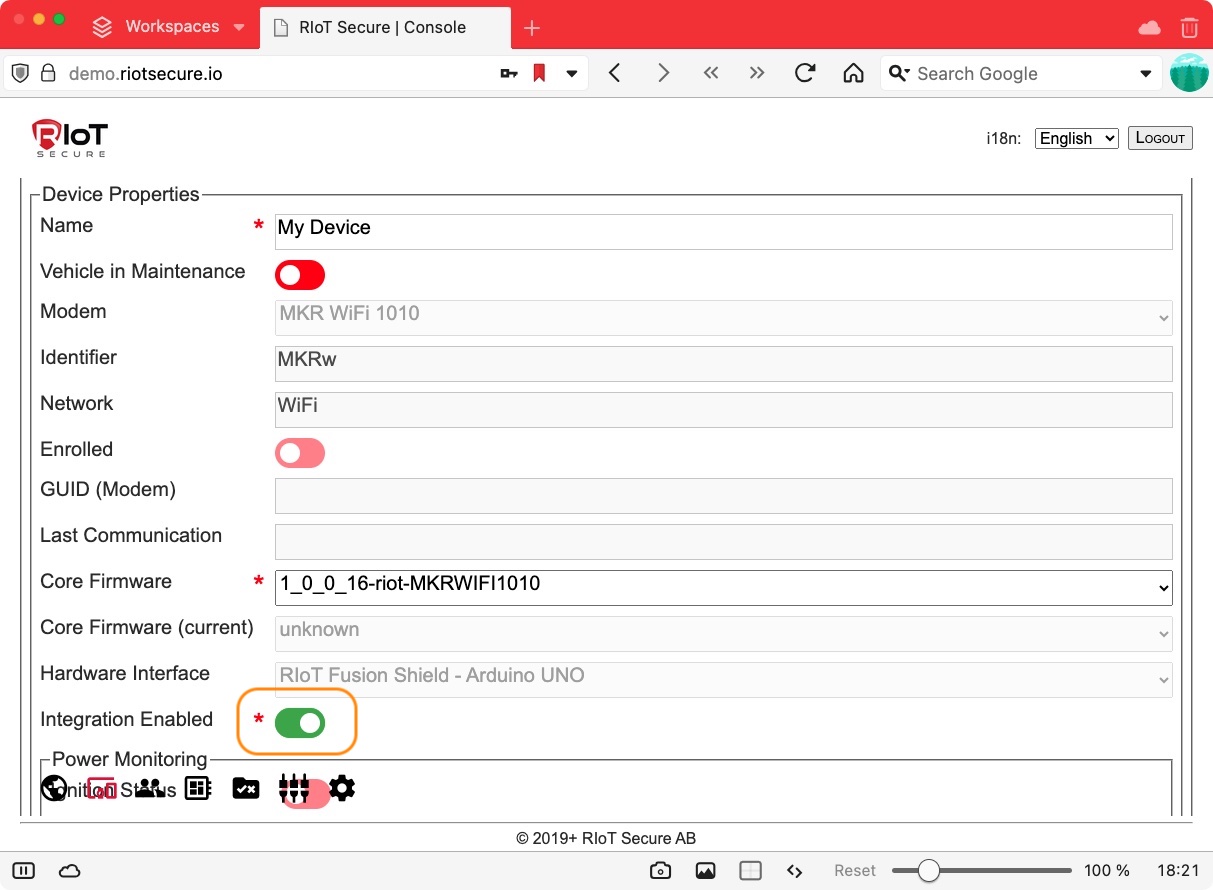
5. Enable Integration
A device that communicates with the customer cloud must have integration enabled.
Turn on the property Enable Integration for the device to active customer cloud network communication. This setting is made for each device.