REST API Authentication Guide
This guide explains how authentication works in the REST API.
PHP is used as the programming language for code examples (note that authentication works the same regardless of the programming language used).
The REST API uses an HTTP header that must be present in each request to authenticate the call. It does not rely on cookies or URL tokens, or similar techniques. This makes the API clean and straightforward to use.
1. Authorization
The Authorization header is the mechanism for authentication in the REST API. The format and creation of this header is explained in the subsequent sections.
A library with the functions described below is available in file: tools/lib/authorization_lib.php (see listing below).
1.1. Header Format
The Authorization header must be included with every request. It has the following format:
Authorization: {auth_method} username="{username}" nonce="{nonce}" authority="{authority}"
1.2. Header Fields
List of fields:
| Field | Description |
|---|---|
| {auth_method} | the authentication method, typically this is "oasis" |
| {username} | the username as a plain-text string |
| {nonce} | token consisting of a time-stamp and a random number |
| {authority} | hash value consisting of a password hash, the request method, the request URI, and the nonce |
1.3. Hash Values
Hash values are MD5 hashes. Note that hashes and hexadecimal values must be be in upper case.
This function computes an upper-case MD5 hash value:
function md5_uppercase($string)
{
  return strtoupper(md5($string));
}
1.4. Nonce
The nonce specifies a one-time value, and prevents requests from being replayed by a malicious agent. It consists of a hexadecimal representation of an EPOCH timestamp (8 bytes), followed by a hexadecimal random number (24 bytes). The timestamp is valid within 60 seconds of the servers timestamp.
This function computes the nonce:
function rest_api_nonce()
{
  $part1 = dechex(time());
  $part2 = bin2hex(random_bytes(12));
  return strtoupper($part1 . $part2);
}
1.5. Password Hash
1.5.1. Computing the Password Hash
The password hash is computed as follows (pseudocode):
md5_uppercase("{username}:{realm}:{password}")
In the example code used in this guide, the {realm} is “riotsecure”.
This function computes the password hash:
function rest_api_passhash($username, $password)
{
  $realm    = "riotsecure";
  $passhash = md5_uppercase($username . ":" . $realm . ":" . $password);
  return $passhash;
}
1.5.2. Never Store Plain Text Passwords
It is strongly recommened to never store passwords in any file. Rather, use the password hash, which can be create using the passhash tool described below. However, make sure to not expose the password hash!
1.5.3. Password Hash Tool
To create a password hash, a command-line tool is provided. This tool is available in file code/php/tools/passhash/passhash.php:
<?php
/*
File: passhash.php

Generate the password hash token used in the REST API login config file.

Outputs the login token. Copy and paste this token into the login.json file.

Usage:

    php passhash.php USERNAME PASSWORD

Example command and output:

    php passhash.php "user@email.com" "mysecretpassword"
    D7E483322282838AD065CE815D5EE05F
*/

require_once __DIR__ . "/../lib/authorization_lib.php";

if ($argc != 3)
{
  echo "Create a password hash token" . PHP_EOL;
  echo "Usage:" . PHP_EOL;
  echo "php passhash.php \"username\" \"password\"" . PHP_EOL;
}
else
{
  $username = $argv[1];
  $password = $argv[2];
  echo rest_api_passhash($username, $password) . PHP_EOL;
}
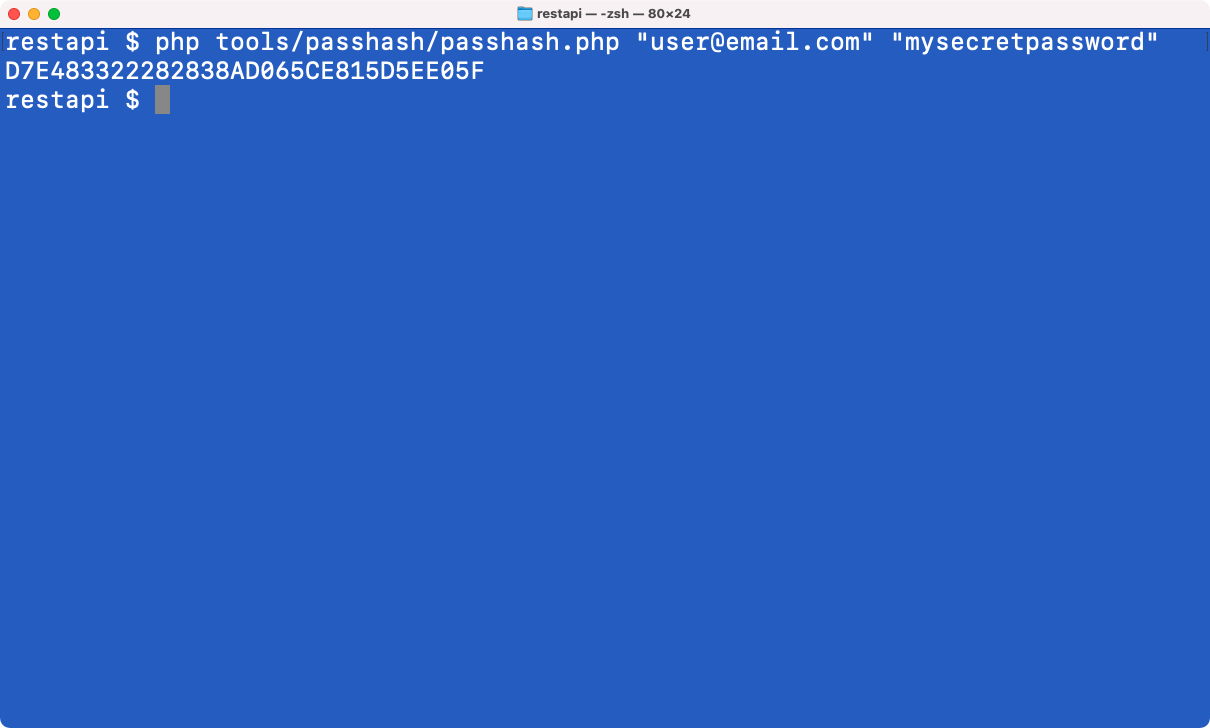
Usage example and passhash result:
php tools/passhash/passhash.php "user@email.com" "mysecretpassword"
D7E483322282838AD065CE815D5EE05F
Screenshot of terminal session:
1.6. Authority
The authority field consists of the following parts:
- username/password hash
- hash of the request method and the request URI
- the nonce
The authority value is computed as follows (pseudocode):
request_hash = md5_uppercase("{request_method}:{request_uri}")
authority    = md5_uppercase("{request_method}:{nonce}:{request_hash}")
This PHP function computes the authority value:
function rest_api_authority($passhash, $request_method, $request_uri, $nonce)
{
  $request_hash = md5_uppercase($request_method . ":" . $request_uri);
  $authority    = md5_uppercase($passhash  . ":" . $nonce . ":" . $request_hash);
  return $authority;
}
IMPORTANT: The request URI is not the full URL; it is the part that comes after the protocol and server address. For example, if this is the full URL:
https://demo.riotsecure.io:6443/auth
this is the URI:
/auth
1.7. Authorization Header
The Authorization header is an HTTP header that is included with each request. It includes the values computed by the above function.
The format of the Authorization header field is as follows:
Authorization: oasis
  username="{$username}",
  nonce="{$nonce}",
  authority="{$authority}";
“oasis” is the authentication method. The other parameters are as stated.
The following is a function that returns an Authorization header string based on the parameters given:
function rest_api_authorization_header($username, $passhash, $request_method, $request_uri)
{
  $nonce       = "5EE5E445KAHT2OSOVDA4CDU9JUBXO2VV";//rest_api_nonce();
  $authority   = rest_api_authority($passhash, $request_method, $request_uri, $nonce);

  $auth_header = "Authorization: oasis " .
                  "username=\"{$username}\", " .
                  "nonce=\"{$nonce}\", " .
                  "authority=\"{$authority}\"";

  return $auth_header;
}
1.8. Example Authorization Header
Example of how to create the Authorization header:
$auth_header = rest_api_authorization_header(
  "user@host.com", "FF4FF42FB2F5817279588A8D2372BD06", "GET", "/auth");
echo $auth_header . "\n";
The above code example will produce the following output, assuming the nonce has the value “5EE5E445KAHT2OSOVDA4CDU9JUBXO2VV” (to validate, hard-code this nonce value as the return value in the rest_api_nonce() function):
Authorization: oasis username="user@host.com", nonce="5EE5E445KAHT2OSOVDA4CDU9JUBXO2VV", authority="02139D7FD9915D75A155111F84C3160B"
2. Autentication Example
This section explains how to make authorized HTTP requests that use the authentication functions provided in the previous section.
2.1. The /auth Route
The following code example calls the /auth route, which returns information about the current user (the user specified in the Authorization header of the request).
Note that the /auth route is like any other route; it is not used for authorization or login (the Authorization header is used for this), but for obtaining information about the user currently authenticated user.
Importantly, the body of the /auth reponse contains the id of the current user and the tenant. The tenant id is used in the /tenant family of the REST API routes. The response also contains data for the permissions of the current user.
2.2. Example Program
The following code uses the PHP cURL library to send an authorized GET request to the REST API:
<?php
/*
File: auth.php

This example shows how to send an /auth request to the server.

The returned JSON data is printed in raw unparsed format.

This is a very basic example that illustrates the use of PHP cURL
calls to perform a request. Intended for educational purposes only.

The other code examples use a REST API library that simplifies
making REST API calls considerably.

The /auth request obtains autentication data about the current
user. The response contains permission data and other items.

Note that the /auth request is not related to login. Every
request in the REST API carries an autentication token, and
in that sense "login" is performed on each and every request.

Importantly, the code below has to be edited to include the
user name and password hash. Use the passhash.php tool to
generate the password hash. The server name also may have to
be edited.

NOTE: Replace the placeholders in the code below with your
actual username and passhash!

Usage:

    php auth.php

Example:

    php auth.php
*/
require_once __DIR__ . "/../../tools/lib/authorization_lib.php";

// TODO: Replace with actual username and passhash
// Use tools/passhash/passhash.php to create the password hash
$username = "USERNAME";
$passhash = "PASSHASH";

// TODO: Replace the server URL if needed
$server_url = "https://demo.riotsecure.io:6443";

// Specficy the request method
$request_method = "GET";

// Specify the route URI:
$request_uri = "/auth";

// You can test other REST API routes by commenting out
// the above line and use one of the following URIs:
//$request_uri = "/modem";          // try setting $expand to true
//$request_uri = "/microntroller";  // try setting $expand to true
//$request_uri = "/global";         // does not have the expand option

// Should the result be expanded? (not all routes support expand)
$expand = false; // or true;

// Create the auth header (the request URI must not contain the expand option)
$auth_header = rest_api_authorization_header(
  $username, $passhash, $request_method, $request_uri);

// Specify HTTP request headers
$header = [
  $auth_header
];

// TODO: If needed, replace the address of the REST API server below
// The request URI may contain the expand option
$expand_option = $expand ? "?expand" : "";
$url = $server_url . $request_uri . $expand_option;
$curl = curl_init($url);

curl_setopt($curl, CURLOPT_HTTPHEADER, $header);
curl_setopt($curl, CURLOPT_RETURNTRANSFER, true);
curl_setopt($curl, CURLOPT_CUSTOMREQUEST, $request_method);
// Include the response header so it can be inspected
curl_setopt($curl, CURLOPT_HEADER, true);

$response = curl_exec($curl);

echo $response . PHP_EOL;

// It is considered best practice to not close the <?php tag
// in a PHP-only file.
It should be noted that normally, the CURLOPT_HEADER option should be set to false. It is set to true in the above example for learning purposes, since this enables inspection of the response header.
This code example uses the library file tools/lib/authorization_lib.php, which is listed below.
2.3. Running the Code Example
Then edit the code in auth.php to provide actual username and passhash. If needed, also edit the url for the REST API server.
Run the example like this:
php guide/authentication/auth.php
The program will print the response header followed by JSON content representing information about the current user.
Example output from the program:

2.4. Autentication Library Code
Here is the source code for the helper library used in the above code example:
<?php
// REST API library functions for computing authentication tokens

function md5_uppercase($string)
{
  return strtoupper(md5($string));
}

function rest_api_nonce()
{
  $part1 = dechex(time());
  $part2 = bin2hex(random_bytes(12));
  return strtoupper($part1 . $part2);
}

function rest_api_passhash($username, $password)
{
  $realm    = "riotsecure";
  $passhash = md5_uppercase($username . ":" . $realm . ":" . $password);
  return $passhash;
}

function rest_api_authority($passhash, $request_method, $request_uri, $nonce)
{
  $request_hash = md5_uppercase($request_method . ":" . $request_uri);
  $authority    = md5_uppercase($passhash  . ":" . $nonce . ":" . $request_hash);
  return $authority;
}

function rest_api_authorization_header($username, $passhash, $request_method, $request_uri)
{
  $nonce       = rest_api_nonce();
  $authority   = rest_api_authority($passhash, $request_method, $request_uri, $nonce);

  $auth_header = "Authorization: oasis " .
                 "username=\"{$username}\", " .
                 "nonce=\"{$nonce}\", " .
                 "authority=\"{$authority}\"";

  return $auth_header;
}

// It is considered best practice to not close the <?php tag
// in a PHP-only file.
3. Next Step
The REST API Examples and Concepts Guide contains introduces a high-level library that is useful for learning and experimenting with API calls. This guide has many examples and explained the concepts used when developing with the RIoT Secure REST API.