Command-Line Tools for Developers
This document is intended for experienced developers familiar with PHP and command-line tools. Knowledge of the RIoT Secure REST API is required to use and customise these tools.
1. Introduction
This document is a reference to the command-line tools avaliable in the example code download. These tools are written in PHP and are intended for learning purposes; as an illustration of how a developer can write scripts that make calls to the RIoT Secure REST API to access and update devices.
Developers are encouraged to experiment with these example tools, use them as an inspiration, and modify them to meet their own needs.
The command-line tools discussed below are available in the REST API example code download:
REST API Example Code and Tools
Download REST API Example Code1.1 Requirements
PHP must be installed on the local machine, and be available from the command line.
1.2 Directory Structure
Structure of the tools directory in the download:
restapi/
  config/
    login_template.json  <-- template login config file
  tools/
    lib/
      ...                <-- library files
    passhash/
      passhash.php       <-- generate password hash tool
    instdl/
      instdl.php         <-- RIoTInstaller download tool
    updatefw/
      updatefw.php       <-- application firmware development tool

  mylogin.json           <-- create this file based on login_template.json
1.3. Config File
The REST API does have a concept of “login” in the traditional sense. Rather, each call to the API carries a one-time authentication token in the HTTP header. The authentication header contains an encrypted password hash.
The command-line tools use a config file that contains the user name and the password hash. The path to this file is given on the command line when invoking the tool.
The “login” config file has the following format (replace placeholders with actual values):
{
  "server_url" : "https://demo.riotsecure.io:6443",
  "auth_method" : "oasis",
  "username" : "USERNAME",
  "passhash" : "PASSHASH"
}
The config file can have any name. In the examples below, the file name “mylogin.json” is used.
Use the Passhash tool to generate the password hash value (see next section).
2. Passhash Tool
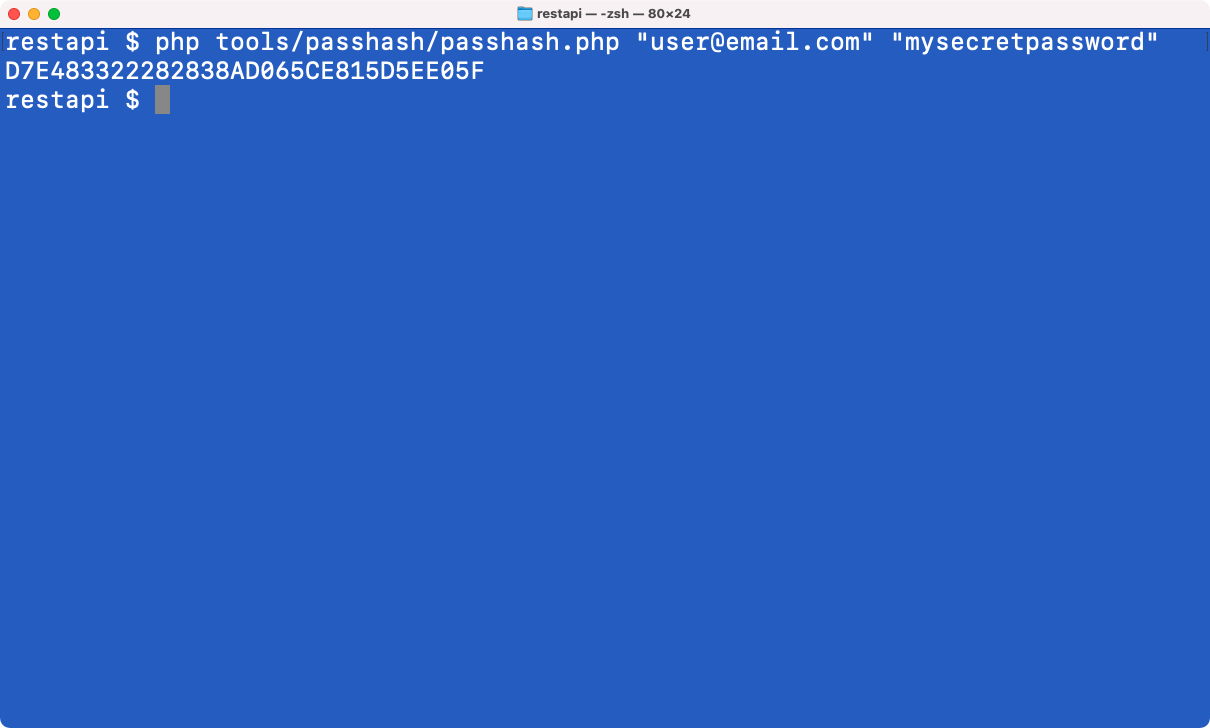
To generate a password token, the passhash.php tool is used.
Example use and output:
php tools/passhash/passhash.php "user@email.com" "mysecretpassword"
D7E483322282838AD065CE815D5EE05F
The resulting hash value can then be pasted into the config file:
{
  "server_url" : "https://demo.riotsecure.io:6443",
  "auth_method" : "oasis",
  "username" : "user@email.com",
  "passhash" : "D7E483322282838AD065CE815D5EE05F"
}
The command-line scripts below take the path to the config file as their first parameter.
3. RIoTInstaller Download Tool
RIoTInstaller is an Arduino sketch that is used when enrolling a device with the RIoT Secure Platform. This sketch can be download as a zip-file from the web-based Management Console.
In some circumstances, it can be convinient to download RIoTInstaller from the command line.
3.1. Download RIoTInstaller for One Device
The tool instdl.php generates a folder with the RIoTInstaller sketch in the current directory.
The RIoTInstaller sketch is always specific to a unique device, identfied by its device id. The device id is given when invoking the tool.
Form:
php instdl.php LOGINFILE DEVICEID
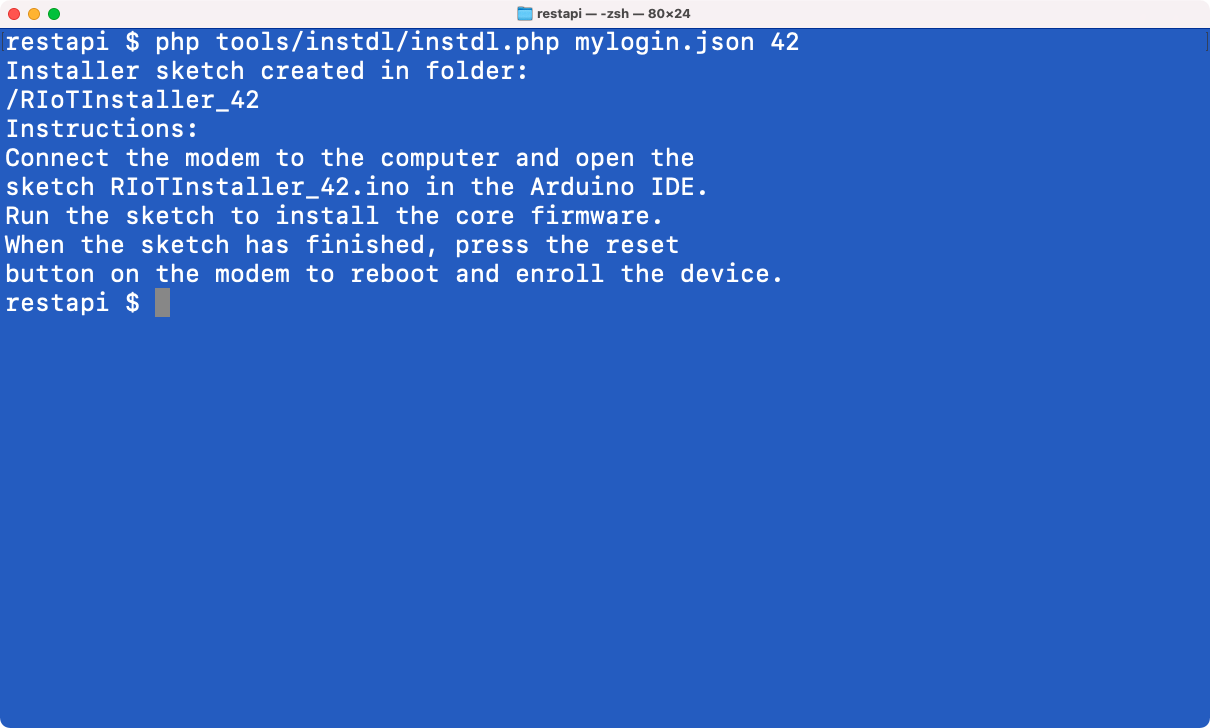
Example use:
php tools/instdl/instdl.php mylogin.json 42
This will create a folder named RIoTInstaller_42 that contains the installer sketch:
RIoTInstaller_42
  RIoTInstaller_42.ino  <-- open this sketch in the Arduino IDE to enroll the device
  SDUPDATE.h            <-- bootstrap data
  sd_helpers.h          <-- SD card helper functions
  boot_sdu              <-- directory with helper files
3.2. Download RIoTInstaller for Multiple Device
The instdl.php tool can also be used to download installers for multimple devices in one go.
In this case, two device ids are given on the command line. This will download installers for devcies from the first given id, up to and including the second id.
Form:
php instdl.php LOGINFILE DEVICEID DEVICEID_LAST
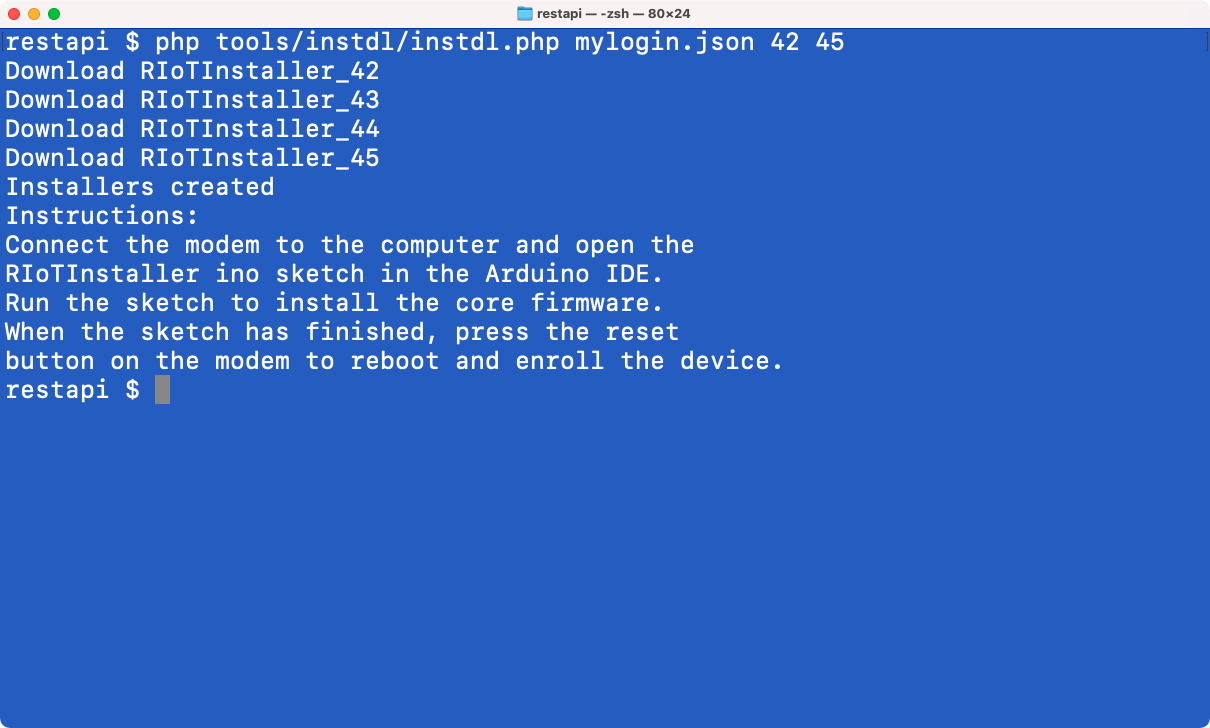
Example use:
php tools/instdl/instdl.php mylogin.json 42 45
The above example will download 5 installers. The following folders will be created in the current directory:
RIoTInstaller_42
RIoTInstaller_43
RIoTInstaller_44
RIoTInstaller_45
This is a handy way to create installers when enrolling more than a few devices.
4. Application Firmware Update Tool
Application firmware is updated over-the-air using the web-based Management Console. But it is also possible to upload application firmware using the REST API. The updatefw.php is an example of a tool that does this, allowing a developer to update the application firmware with a single command.
Experienced developers may find the firmware update tool convinient to use, as application firmwares can be uploaded to the device using a single command-line invocation.
4.1. Requirements
- The device must be enrolled with the RIoT Secure Platform
- The Arduino IDE must be installed on the local machine
- Knowledge of how to export a sketch using the Sketch/Export compiled Binary menu command in the Arduino IDE
4.2. Workflow
- Write/update/edit the application firmware sketch in the Arduino IDE
- Export the sketch using the Sketch/Export compiled Binary menu command
- Switch to the terminal window and invoke the updatefw.php script
4.3. Example Use
The update tool requires several parameters:
- The path to the config file
- The device id
- A base version number
- The path to the exported sketch file
Usage:
php updatefw.php LOGINFILE DEVICEID FIRMWAREFILE
Example invocation:
php tools/updatefw/updatefw.php mylogin.json 42 Blink_Uno.ino.hex
The above example will update the application firmware for device id 42, using the .hex file given by the path in the last parameter.
The version number used for the development application firmware is:
199.199.199.x
The script will cycle between application firmware version numbers ending with 200, 201, and 202. The previous development firmware will be erased.
This scheme is used due to the following requirements made by the REST API:
- A firmware in use may not be deleted
- An existing firmware may not be overwritten (it is not possible to replace a firmware by using the same version number)
To meet these requirements, the firmware update script alternates between two firmware version numbers. The following update logic is used by the script:
- Find the version number in use by the current firmware (using the base version number)
- If not in use, the base version number is used, otherwise the alternating version number is used
- Upload the new firmware with the alternating number
- Assign the new firmware to the device (replaces the previous firmware of the device)
- Delete the previous firmware (allowed since it is not in use any longer)
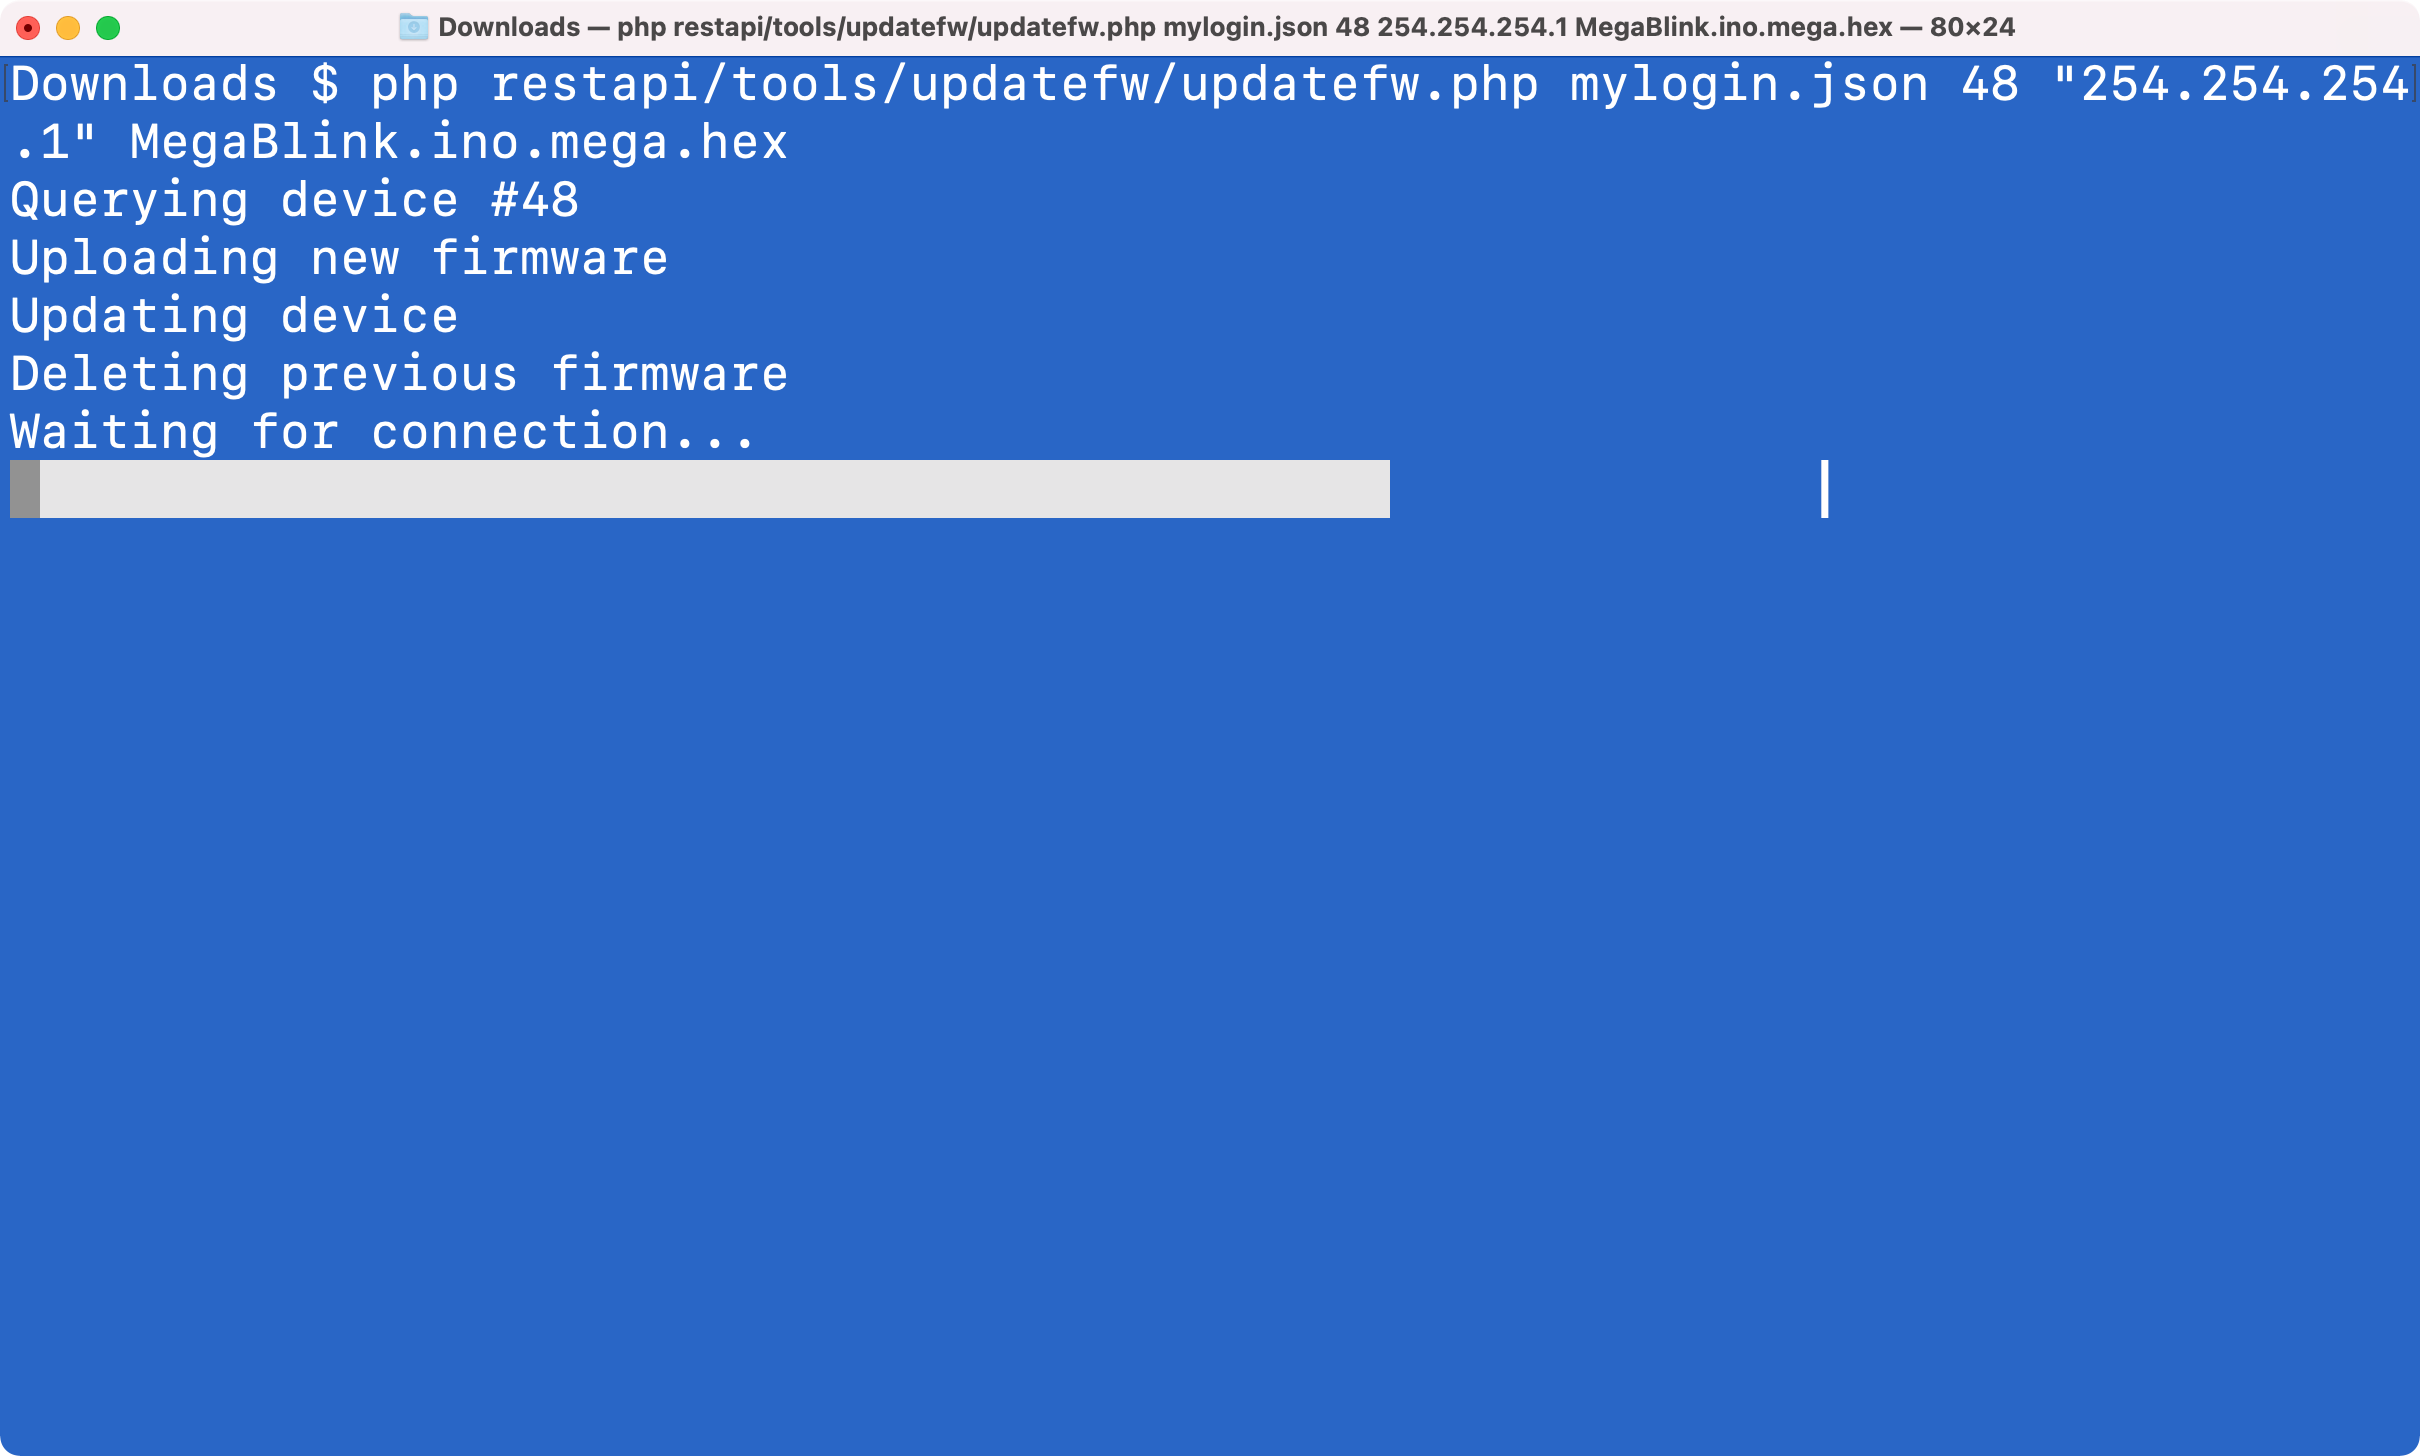
Several REST API calls are made by the script to implement the above logic.
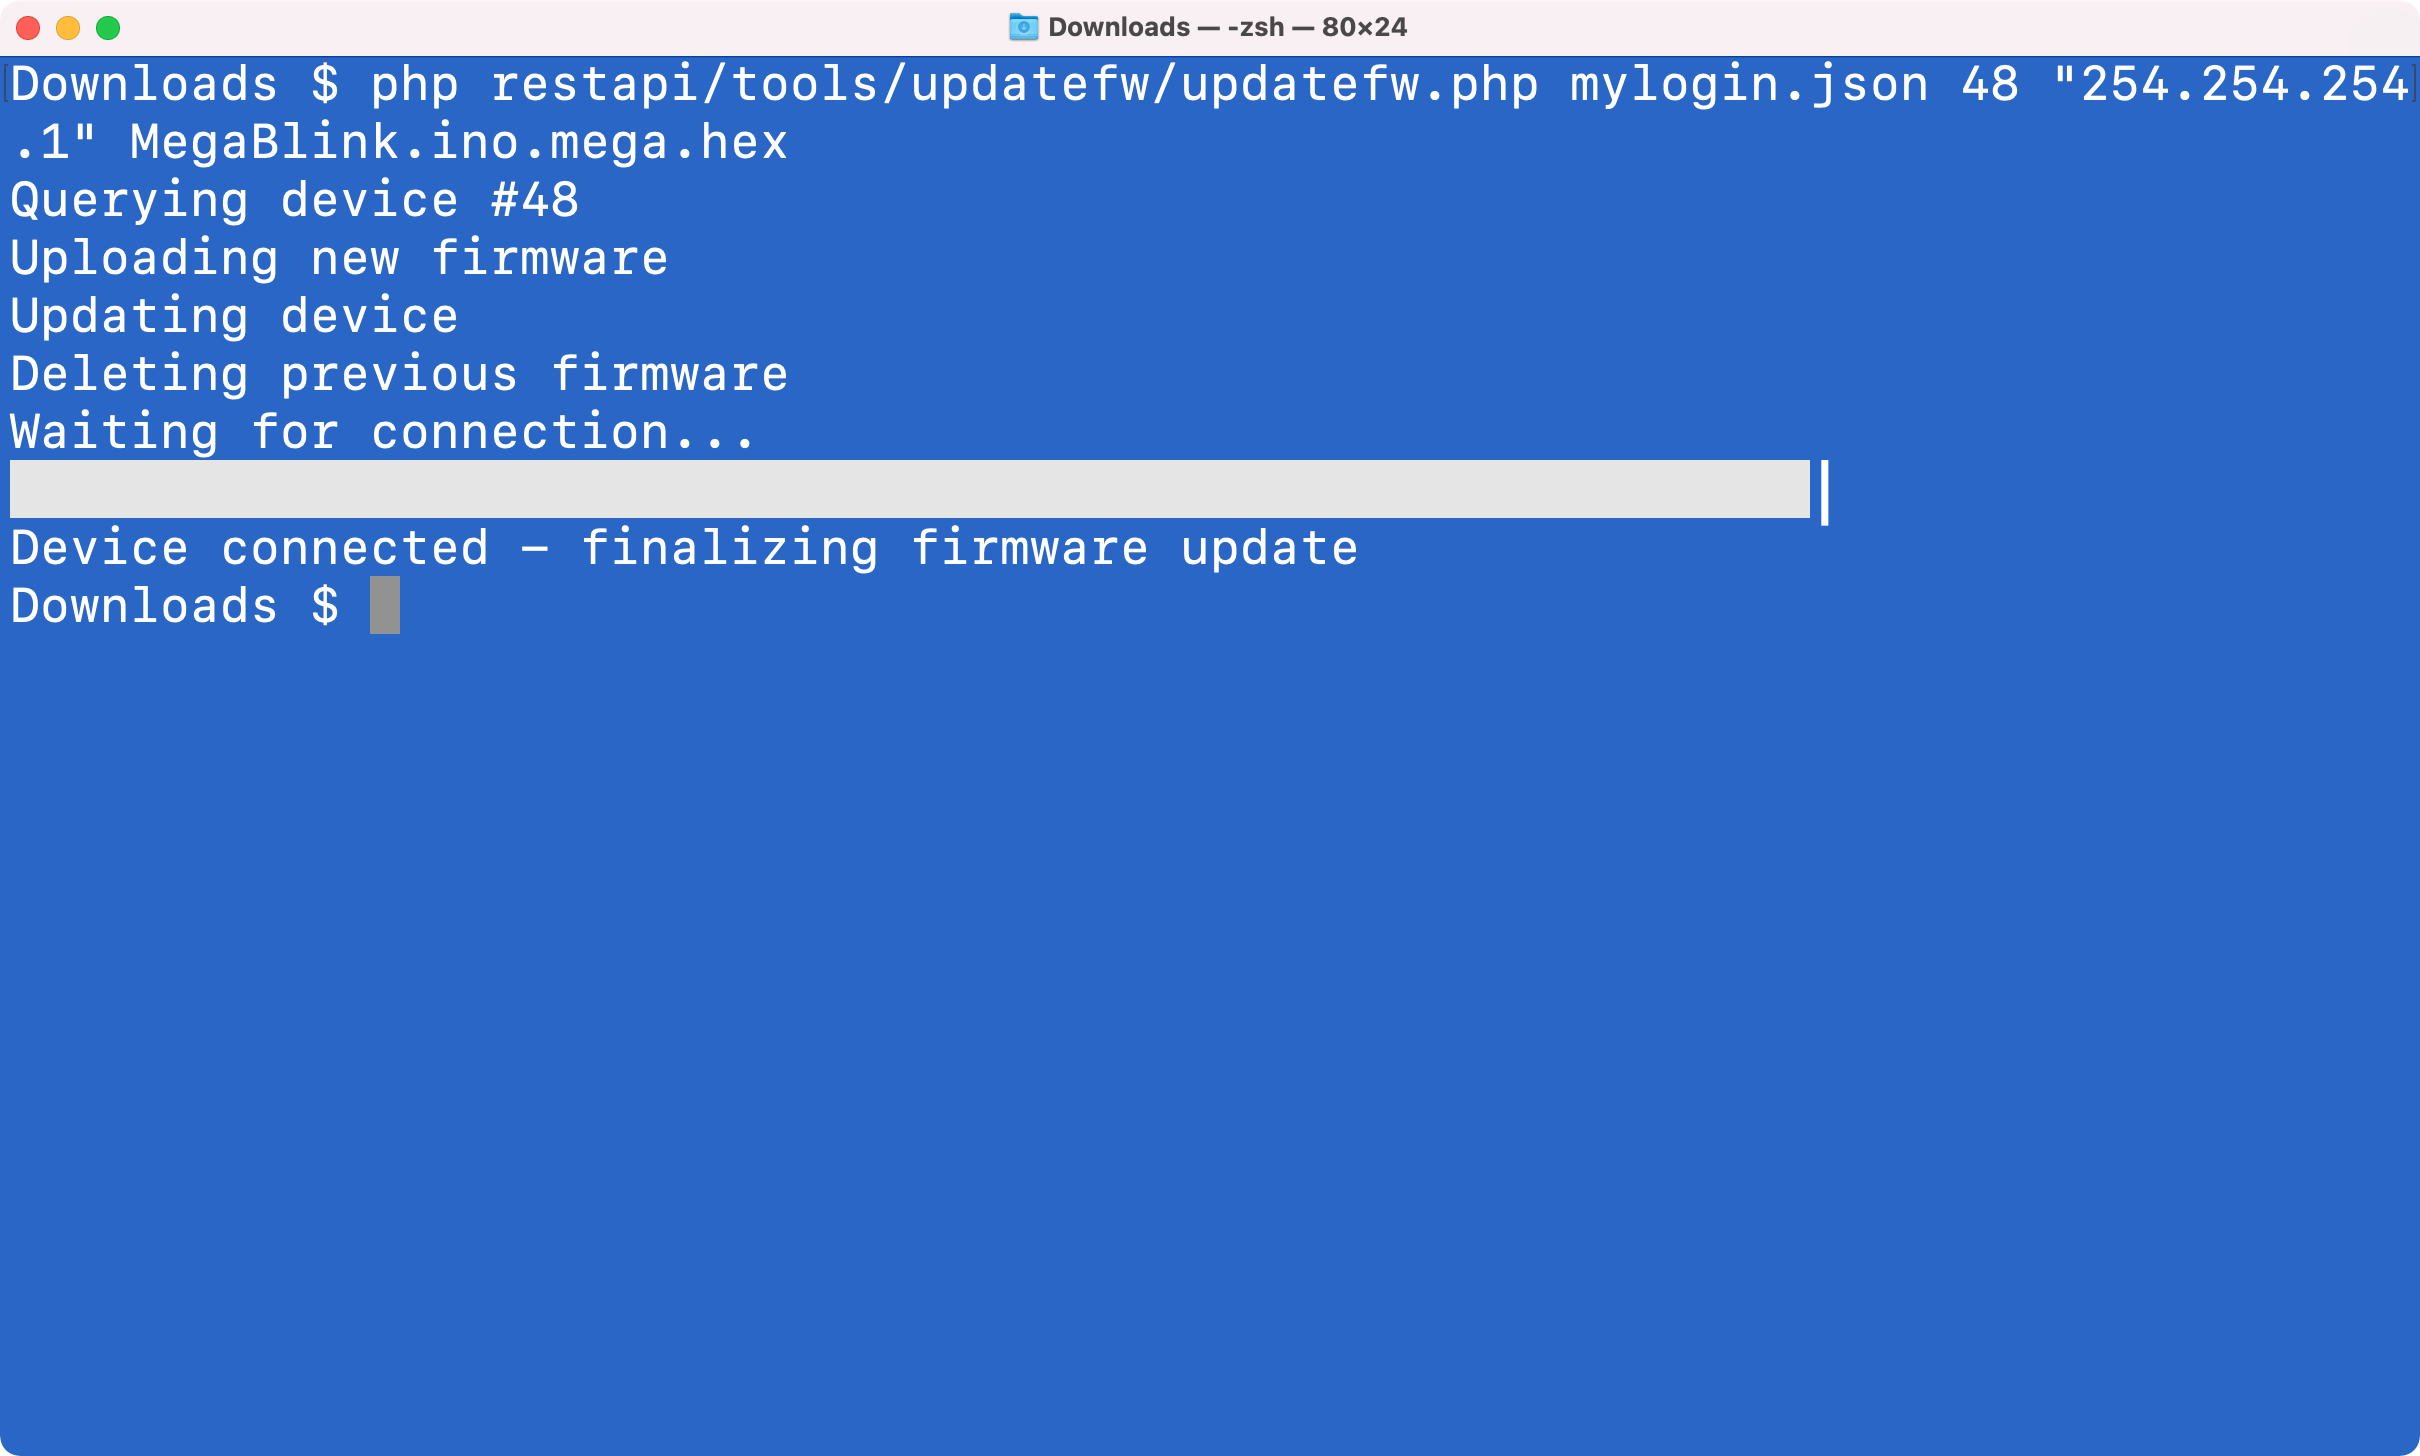
The script displays a progress bar to indicate the status of the firmware update process:
5. Benefits of Command-Line Tools
For experienced developers and system managers, command-line tools has certain advatages:
- Tasks that require multiple steps in a graphical user-interface can be performed with a single invocation of a command-line tool.
- Command-line tools can be tailored to a specific task.
- Command line tools can perform batch operations; for example, a command script can update the application firmware on 100 devices in one go.
- Errors can be reduced or eliminated compared to when performing tasks manually.
- Command-line tools can be invoked form other tools, and thus be integrated into an automated workflow.